How to Install a Driver in Device Manager Under Windows 2000, Windows XP and Newer OS
Windows 2000, Windows XP, Windows 7, 8 and Windows 10 automatically detects Dialogic’s PCI and PCIe boards and launches “Windows New Hardware Wizard” during startup. The boards are then listed as an unknown PCI Bridge device (yellow question mark) in the Device Manager. In the past you could disable the device in the Device Manager to stop the Add New Hardware Wizard from coming up on re-boot and the card would still function since the real drivers for the card are loaded through the Dialogic Configuration Manager. But starting with Windows XP disabling the card in the Device Manager causes the Dialogic Configuration Mangager to not see the card, if that happens you can use the steps outlined below to install a “Dummy” .inf file for the card.
The purpose of the dummy .inf file is to make the system aware of the name of the Dialogic board and it’s manufacturer. This is used to keep track of the device in the Device Manager and to save the user from having to cancel the “Found New Hardware” Wizard every time the system is rebooted.
These are instructions to bypass “Windows New Hardware Wizard” with ‘inf’ dummy files so that it will not continue to come up when Dialogic boards are in the system.
Steps:
If you haven’t installed the System Release yet, please do so. After the installation of the system release, shut down the PC and insert the Dialogic PCI card into the PC chassis and start the PC.
After restarting the system will automatically detect the presence of the Dialogic card, the “Found New Hardware” wizard will open up. The purpose of the wizard is to permit the user to direct the operating system to the .inf file for the new hardware that was being added.
Click “Next” on the “Welcome to the Found New Hardware Wizard” dialog box.
The next dialog will be titled “Install Hardware Device Drivers” which request the user to make a choice in the way the driver would be located. Select the radio button “Search for a suitable driver for my device (recommended)” then click “Next”.
A dialog box titled “Locate Driver Files” appears which has a series of check boxes. Check the box next to “Specify a location”. Click “Next”.
Click “Browse” button and point to dialogic\drvr directory, then click OK.
In the next dialog box titled “Driver Files Search results” verify that the file “dlgcsram_nt4.inf” or the file “dlgcdm3_nt4.inf” was found by Windows as a driver for the new device. If these files aren’t available in that directory you can download them by clicking on the appropriate file name below:
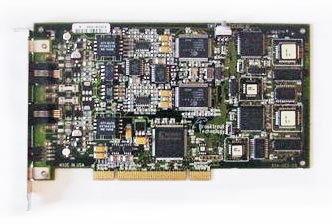
dlgcsram_nt4.inf – Use this for Springware cards such as D/4PCI or D/120JCT-LS
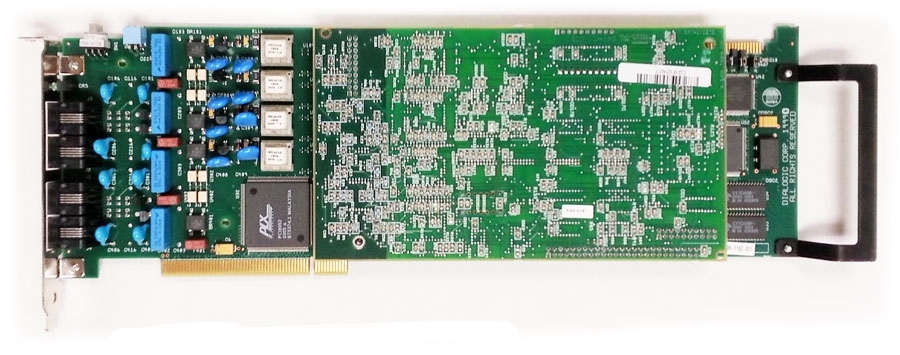
dlgcdm3_nt4.inf – Use this one for DM3 cards such as DM/V960A4T1-PCI
The next dialog is entitled “Completing the Found New Hardware Wizard” and it displays the name of the Dialogic board that it finished installing. Make sure that the correct name appears. Click “Finish”.